
I woke up early last week to bake mini banana-chocolate chip-chia seed muffins for a class coffee at my children's school. Seeing a sign-up sheet for paper goods, flowers, set-up or baked goods, I'm a sucker for the most laborious of the bunch. This is a little problem I've got. And so, that morning I found myself baking. It's not that I particularly like baking, in fact I'm not much of a baker. But there's this (achem, self-perpetuated) assumption that since I
can cook, I should. And so, I arrived with a tray of tender little muffins. And they were good, well worth the early morning baking session. But, I give myself a little pat on the back for quickly nabbing a beer offering on the sign-up for the next parent gathering...
Banana-Chocolate Chip-Chia Seed Muffins (or loaves) From Scratch
(makes 12 muffins, 24 mini muffins or one 8" loaf)
1 1/3 cups all-purpose flour
1/2 teaspoon baking soda
1/4 teaspoon baking powder
5 1/2 T unsalted butter, softened
2/3 cup Turbinado sugar
2 eggs
2 bananas, mashed
1/2 cup chocolate chips
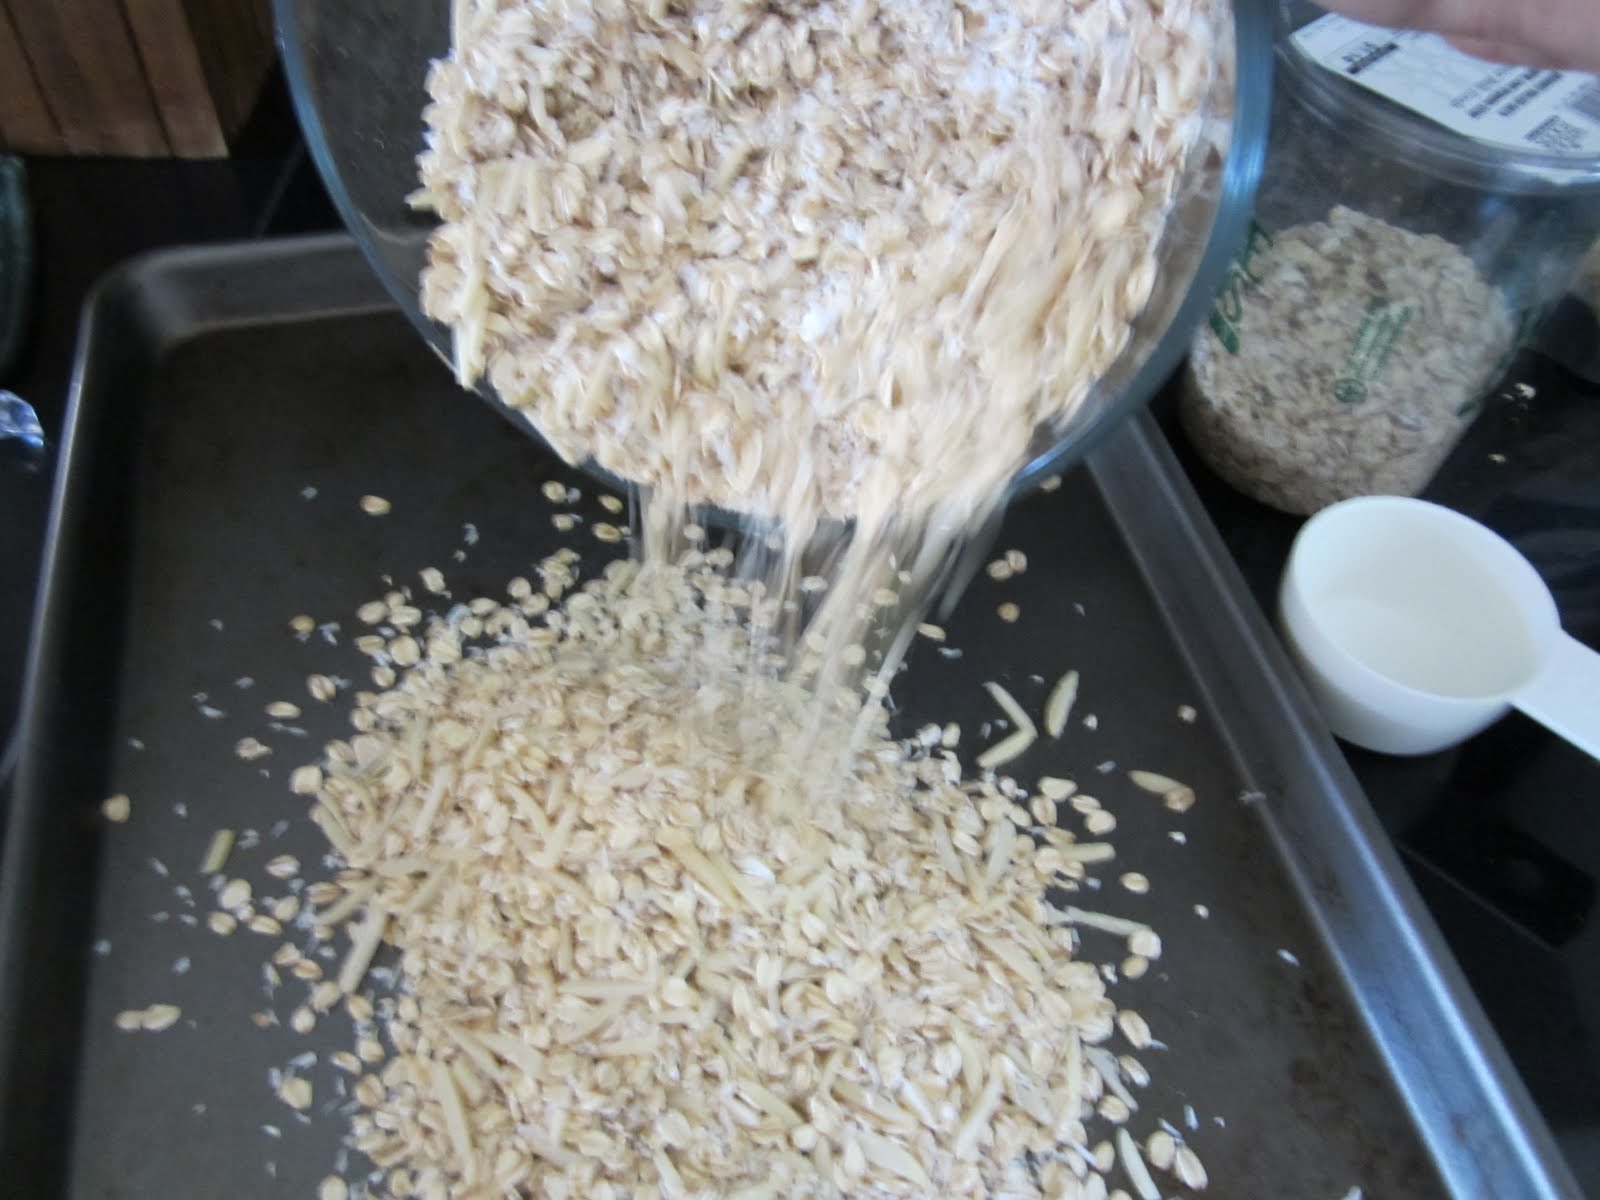
1/2 cup chia seeds
Preheat the oven to 350. Grease a loaf pan or line a muffin tin with paper cups. Whisk flour, baking soda and baking powder together in a small bowl. In a second bowl, beat the sugar and butter together with a hand mixer until creamy. Add the flour mixture until blended then beat in eggs, banana, chocolate chips and chia seeds. Pour batter into prepared pan and bake: 45-55 minutes for a loaf; about 18 minutes for regular-sized muffins; or about 12 minutes for mini muffins. Check to make the muffins or bread are done by inserting a wooden toothpick in the center, making sure it comes out clean.
Now you've got my go-to recipe for banana bread and/or muffins. But then I realized I hadn't gotten a photo of the muffins before bringing them to school. So, I baked a second batch this weekend (the loaves pictured above), this time using my tried and true TJ's banana bread mix + a fresh banana in each loaf. Just as good (I think) and a tad bit easier to throw together:
Banana-Chocolate Chip-Chia Seed Muffins (or loaves) With the Help of a Mix
(makes 12 muffins, 24 mini muffins or one 8" loaf)
1 package of Trader Joe's Banana Bread Mix (nut-free)2 eggs1/3 cup vegetable oil3/4 cup water1 banana, mashed (optional)1/2 cup chocolate chips1/2 cup chia seedsPreheat oven to 350. Grease a loaf pan or line a muffin tin with paper cups. Combine mix, eggs, oil, water, mashed banana (if adding), chocolate chips and chia seeds in a large mixing bowl and beat with hand mixer until blended. Pour batter into prepared pan and bake: 45-55 minutes for a loaf; about 18 minutes for regular-sized muffins; or about 12 minutes for mini muffins. Check to make the muffins or bread are done by inserting a wooden toothpick in the center, making sure it comes out clean.

Chia seeds are one of the "hip" ingredients you hear about a lot these days. I experimented with them this summer, whipping up a raw chia pudding which 3 out of the 4 of us liked. It wasn't pretty to look at (unless you like grey, gloppy things), but it tasted good and almost had the texture of tapioca. When chia seeds are soaked they become gelatinous in texture, hence the reason you can make "pudding" from them simply by adding nut or soy milk, some sweetener and a splash of vanilla and letting it sit for a few hours. Pretty neat. I'm happy to post that recipe too, if your package of chia seeds doesn't already have it there for the asking. As for the chia seeds,
I find mine at our local Whole Foods. They are gluten free, if that is important to you, and according to the Foods Alive package, "chia seeds were used as a staple food alongside corn and beans by the ancient Aztec , Incans and Mayans. Known as the running food, they would eat this high energy endurance food mixed with water...chia seeds have a mildly nutty flavor...omega-3 essential fatty acids, calcium, protein, anti-oxidants and dietary fiber are just a few of the vitamins and minerals this little seed packs for a nutritional punch...." Of course adding them to banana-chocolate chip muffins doesn't transform the muffin from treat to superfood...it just makes the treat have a little more texture and interesting nutritional boost!
 My little one's birthday is coming up, so he gets to bring a special snack to school to share with his classmates. His choice? A yogurt parfait bar. My husband balked, wondering "what 4 going on 5-year-old asks for a yogurt parfait for his birthday snack", but I kind of wonder if the kid is on to something?


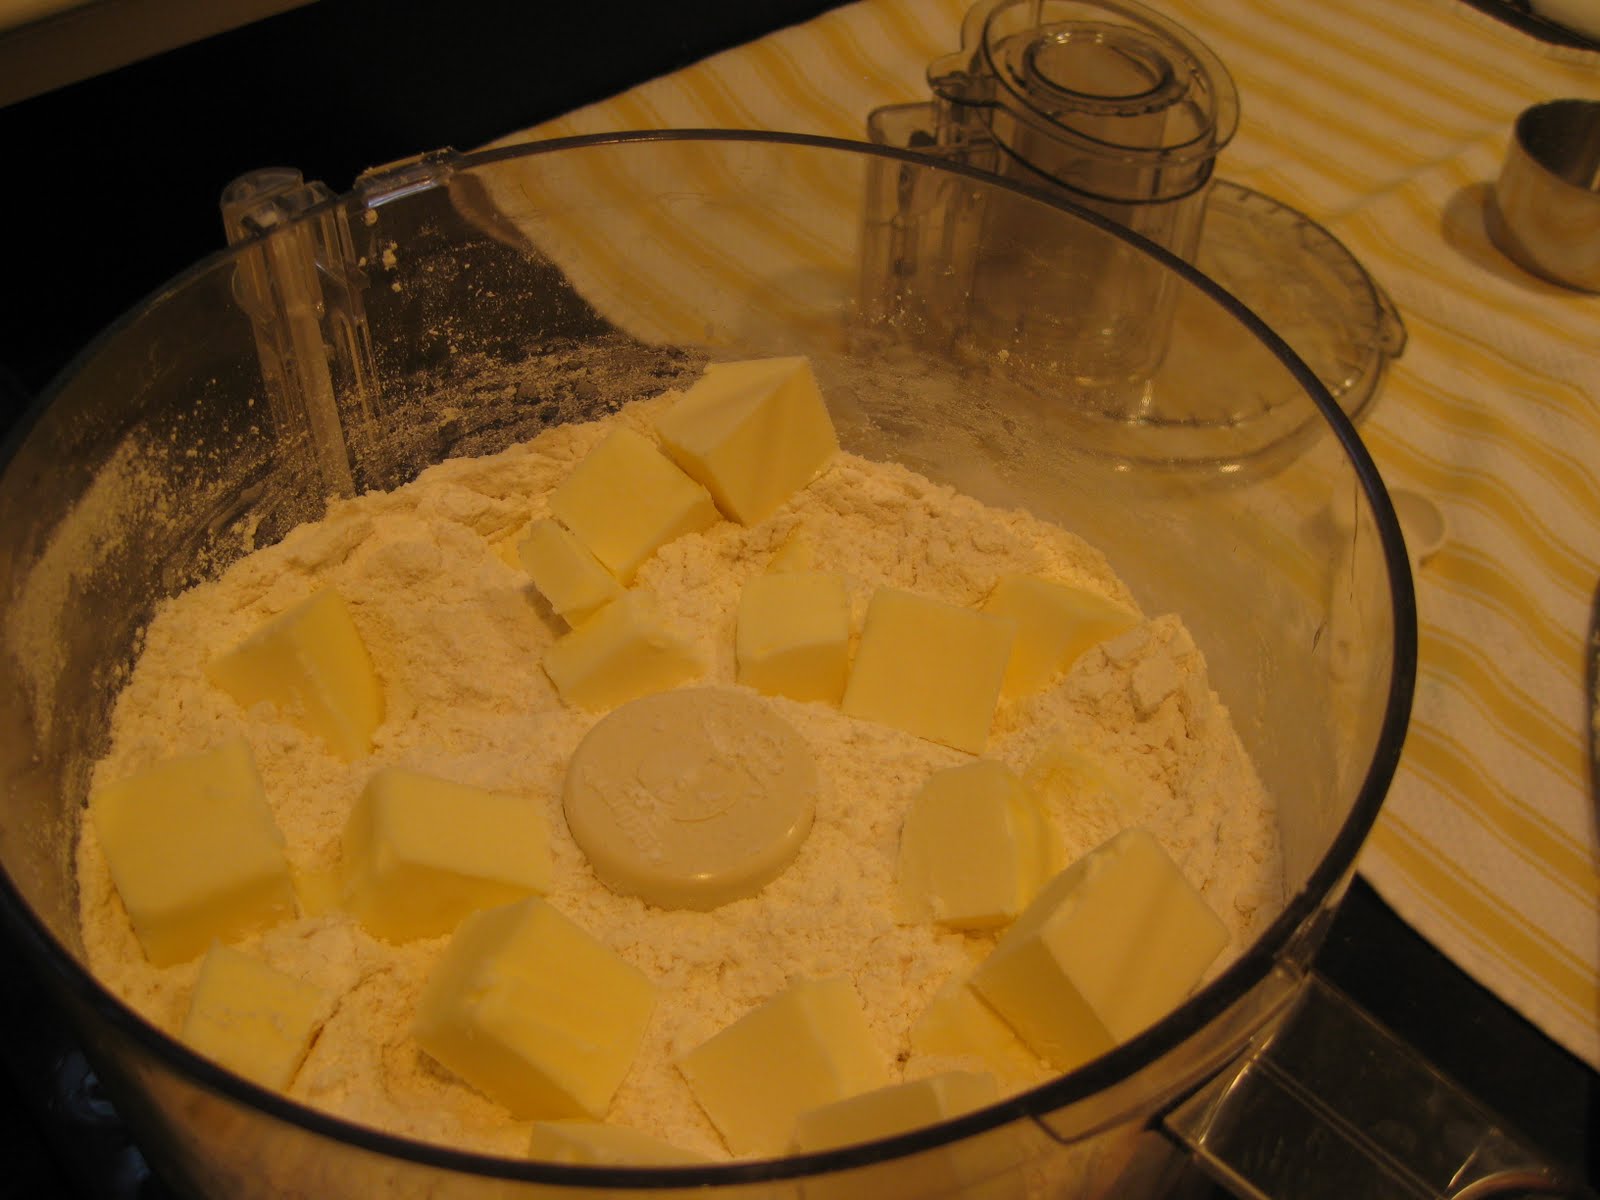
 (No silly, I do not sift the dry ingredients in a separate bowl...)


